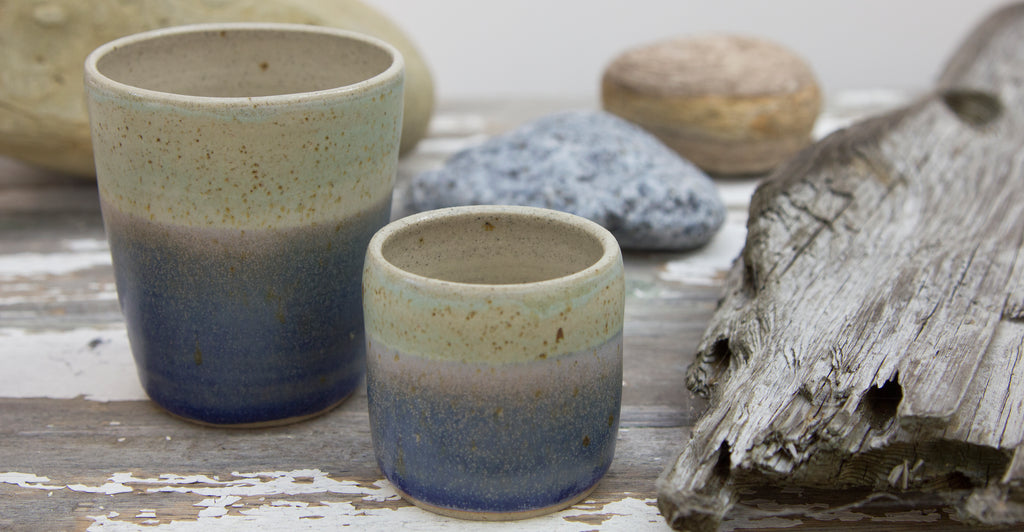
We were thrilled to discover the work of ceramicist Libby Ballard and even more delighted when she was happy to collaborate with us to create a duo of cups for both tea and coffee drinkers.
Having studied on the South Coast in Brighton, it’s not hard to see where Libby gets her inspiration.
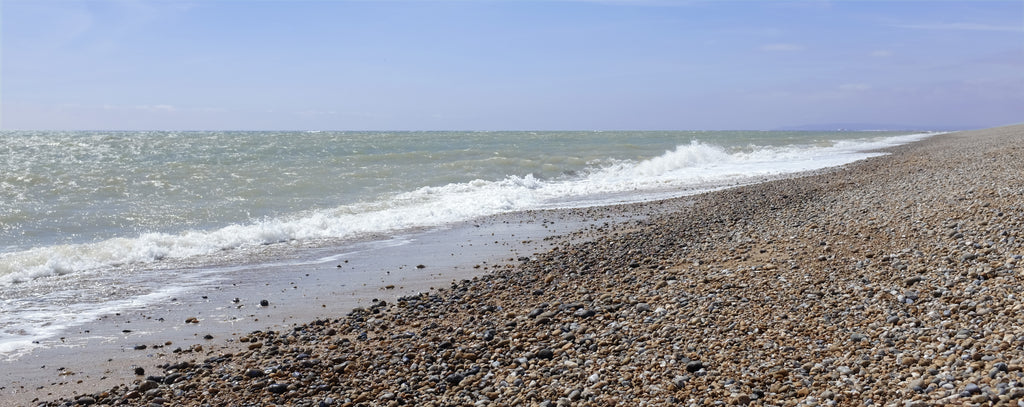
“The sea and coastal landscapes are the main inspirations for my practice. Using photography as a starting point to capture my interests in colour, shape and form, I use a combination of porcelain and stoneware, and experiment with different glazes and textures to achieve the desired effects.”
The colours, the layering of the glazes and the speckled clay in her work, conjure up days on the beach, the movement of the waves and the sand beneath your feet.
 After leaving The University of Brighton with a BA in 3D Materials Practice (Wood, Metal, Ceramics and Plastics), Libby went on to form her company Libby Ballard Ceramics in 2014.
“From the start I was obsessed with ceramics. I enjoy working with clay and love its tactile nature.”
Each cup can take four to five days to make. It’s a long process of throwing, firing, scraping and dipping. To truly understand what is involved, we asked Libby to document the process.
“Firstly I wedge up a blend of two stoneware clays to get the speckle effect I require. I then weigh out the clay and wedge up again so it’s a consistent texture and ready to throw, without any air bubbles.
“I then throw on to a wooden batt on the wheel head. Each piece is thrown by centering the clay, throwing a cylinder first and then gently pulling out to the correct width. The cups are then left loosely covered overnight to stiffen up.
 “The next day when they are leather hard and can be touched without losing their shape, it is time to turn the bases and stamp. This involves taking away excess clay from the base so that they are all smooth and uniform. This also helps to compress the clay so that cracks don’t form. I then leave them to dry slowly, covered lightly with plastic. If they dry too quickly or unevenly the rim can dry out causing pressure on the base which again can cause cracking.
“Once fully dry they are fired to 1000 degrees over 10 hours and left to cool slowly in the kiln which can take up to 24 hours. They are then removed from the kiln and any rough parts sanded off.
“I mix up my glazes with a range of raw materials and oxides for colouring, I often play around with new glazes and test out different percentages of colour. Each glaze, when mixed up, needs to be left to settle for at least an hour and then sieved three times through a specific size mesh.
“I then pour clear glaze into the inside of each cup and wipe any dribbles from around the outside rim. I then dip up to the rim in a light green glaze and then leave for the glaze to soak in and dry. They are then dipped again in a dark blue glaze but this time only halfway up the cup.
“The glaze on the base of each cup needs wiping back with a clean, damp sponge or it can stick to the kiln shelf. I then load the kiln for the second firing. As my work is all fired to stoneware temperature it goes up to 1260 degrees over 11 hours and is again left to cool for about 24 hours before it can be removed.
“When removed, each cup is checked once more and the bases sanded back where necessary."
Since graduating Libby has moved inland and has set up her studio in Bath, Wiltshire.
"I am so excited to explore the surroundings and perhaps bring more of the countryside into my ceramics."
(Apologies, these products are no longer available.)


